
I had a small USB drive hooked up to my network for the past few years that I was using as a Time Machine backup. It did a fine job and I even used it to recover all of my data when I bought a new Mac back in November. But this past week the drive gave out. It happens from time to time which is why we keep backups in the first place. This time however I decided to go with the Apple Time Capsule because it can back up multiple machines and can also double as a wi-fi base station. I didn’t need the base station but my existing one is probably over 5 years old so an upgrade might be a good thing.
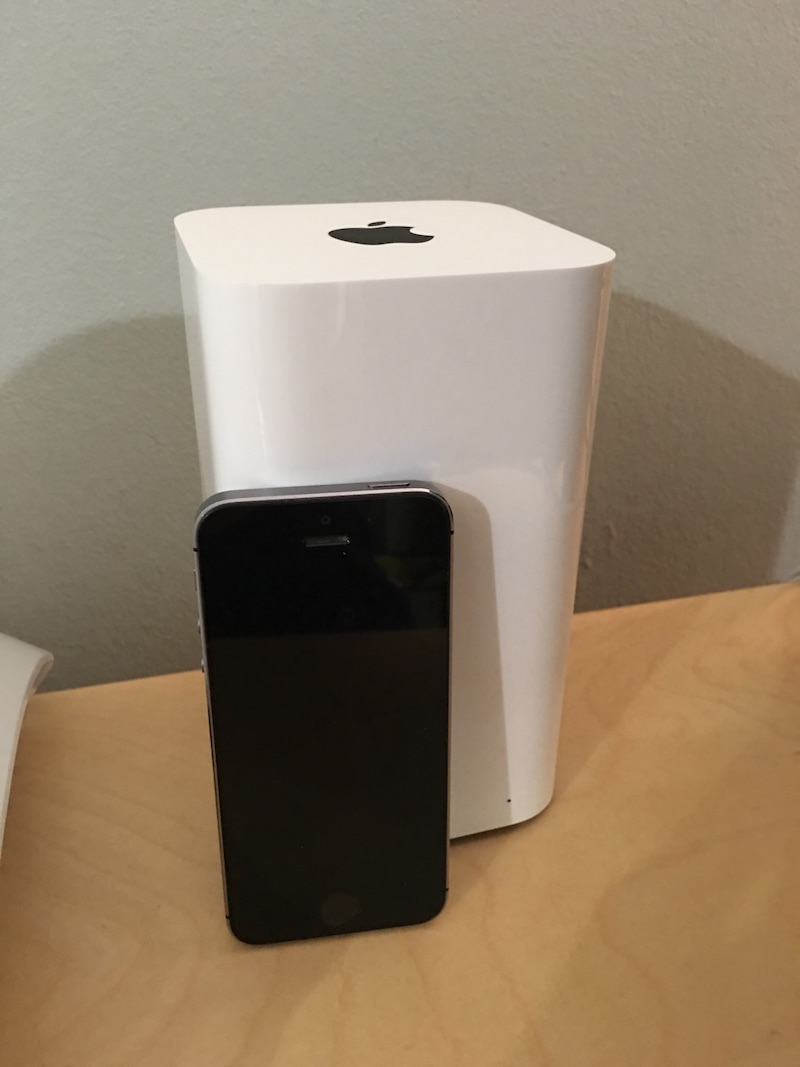
So here it is, the Apple Time Capsule next to an iPhone 5s to help you see how big it is. I’m skipping the video of me taking it out of the box, if you can’t unwrap something you’re probably not qualified to own it.
The back has several ports but don’t be worried, this is an easy thing to deal with. In fact, I’m only going to use the bottom four but you may only need the bottom two.
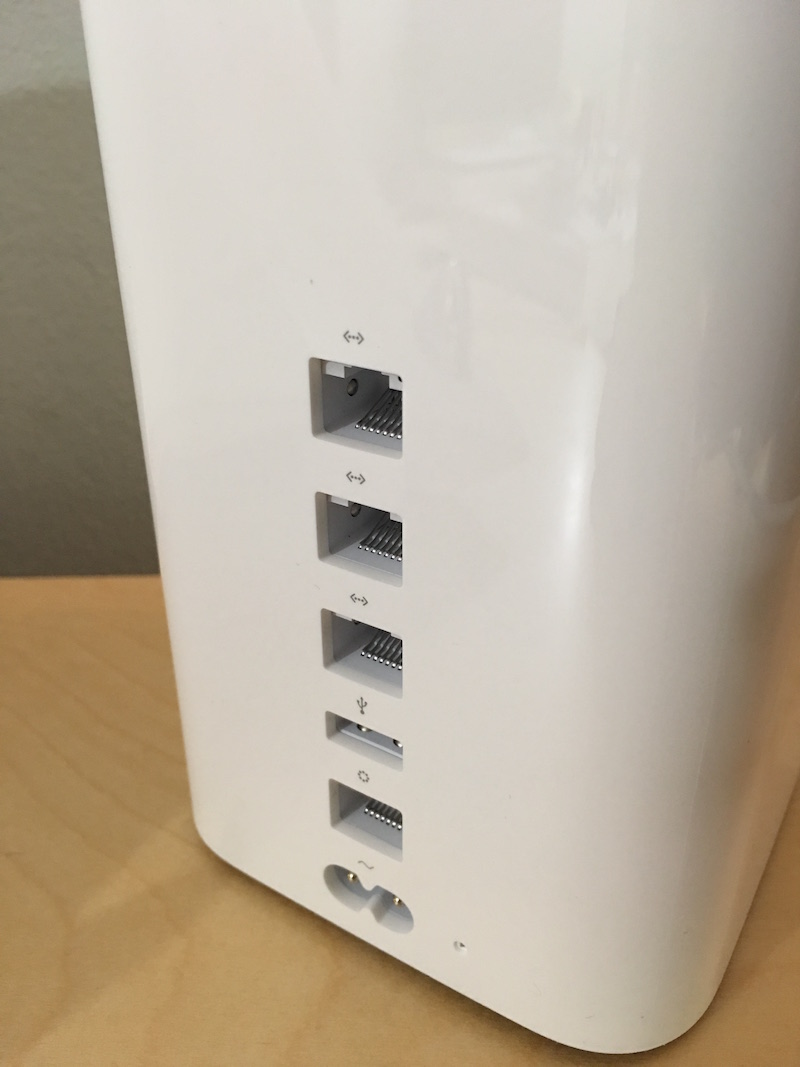
Listing what they are from bottom to top. Power, Cable/DSL Modem, USB, three network ports for printers or other gadgets. This is what I plugged in.

The USB that I have goes to a USB Strip. I keep a few cables plugged into it for charging devices while I’m not using them and until recently I had that USB backup drive on there as well.
Once you have all of your stuff plugged in you just need to go to your Mac and open the AirPort Utility. The easiest way to do this is to click on the magnifying glass at the upper right corner of your screen right next to the time. Start typing “A i r P” and it should fill in. Just hit enter and it will open.
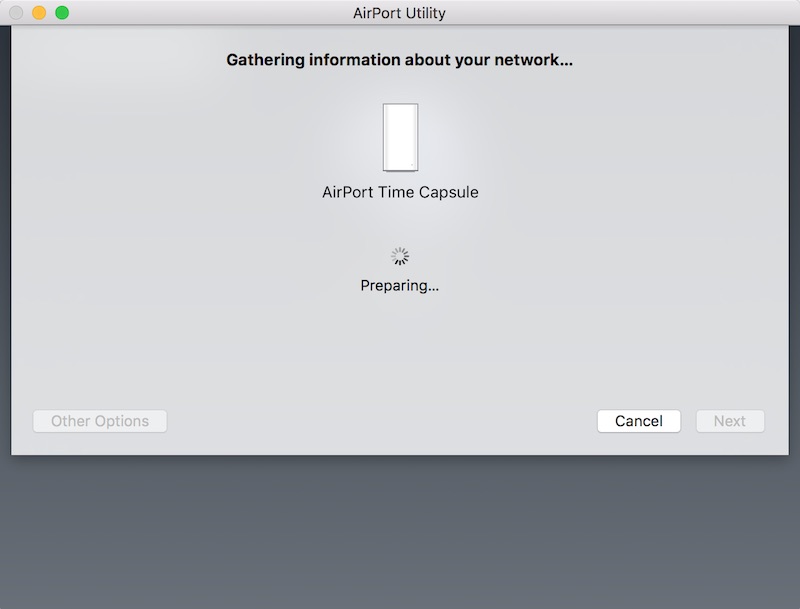
Without doing anything AirPort Utility is looking for your wi-fi network to configure your Time Capsule and if it doesn’t find one it will set one up for you which is what I wanted. It will ask you to name your wi-fi network, the time capsule unit itself and choose a password for accessing the time capsule settings. Then you are done setting up your wi-fi, that’s all there is to it!
But don’t stop there, when it sets up your network it makes the TimeCapsule password and your network password the same and I didn’t want that. Pick the TimeCapsule in the AirPort Utility and click the ‘Edit’ button. Then click on the ‘Wireless’ tab at the top. This is where you can change the password that you use for accessing your wi-fi. The password for the Time Capsule itself was on the first tab.
Your next step is really simple. At the bottom of the ‘Wireless’ screen is a button that says ‘Wireless Options…’ and you want to click that. Then check off the box that says ‘Create a hidden network’ and then ‘Save’ and ‘Update’.

A ‘hidden network’ just doesn’t tell you it’s there so you won’t be able to just pick it from your wi-fi menu. You will first have to pick ‘Join Other’ and give the computer the name of your network. Once you have joined it will remember. This isn’t security, but it will make it less likely that your wi-fi is a target for someone trying to connect without you knowing.
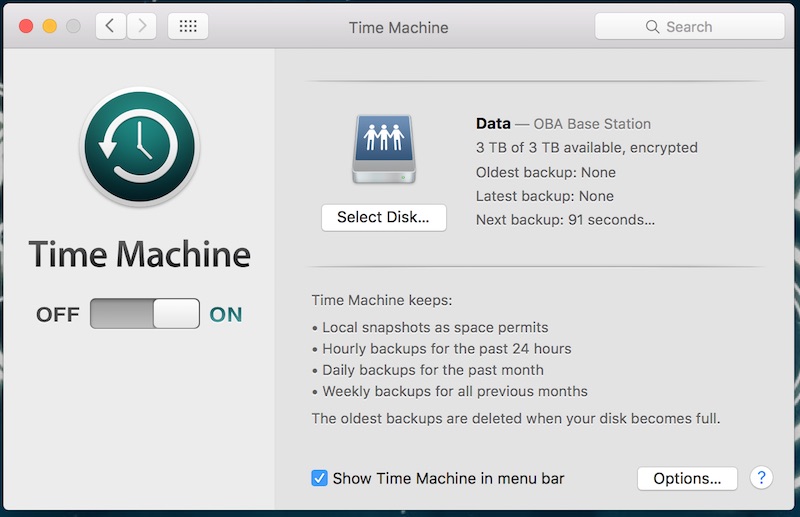
Once your Time Machine restarts it will have a green light on the front and you are done setting up your wi-fi. Now we need to set up our Time Machine backup feature which is just as easy! Open up your System Preferences which is the icon with the gears on it. Then choose ‘Time Machine’, it is the icon that looks like a clock with an arrow going around it counter clockwise. (Anti-clockwise if you prefer)
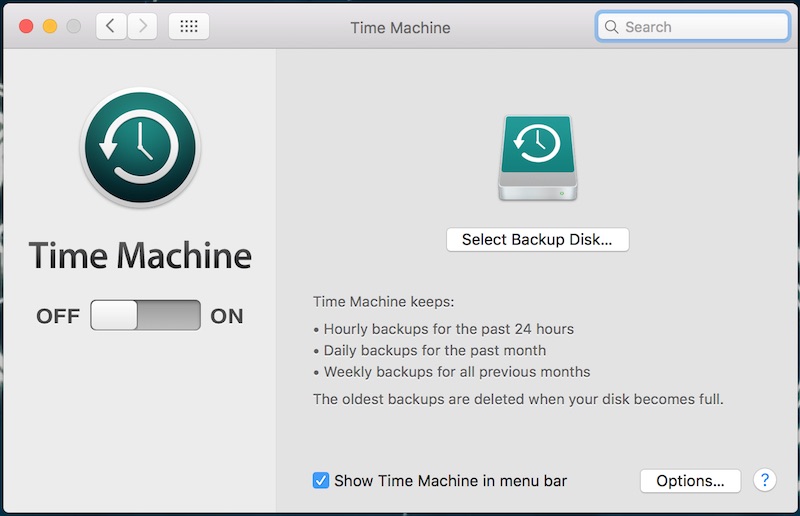
Just flip the switch and pick the drive that shows up. Mine was called ‘Data’. That’s all you have to do, your machine will now do it’s first backup which will take a long time, probably hours. Then every 30 minutes or so it will just back up the changes and you won’t even notice it. Fantastic!
Initially it will have a count down to your first backup and will look like this.
When the backup actually starts (and if you have the box checked to show time machine in your menu bar) the little icon in your menu bar will look like this.

Congratulations! You have not only set up a new Wi-Fi network but you have also configured an automated backup for your computer! You can use the same backup drive for other Macs if you want to, just open Time Machine on the other mac and set it up. Time Machine on each machine will share the drive and never even know that the other backup is there.